How To Change A Merlin Garage Remote Battery
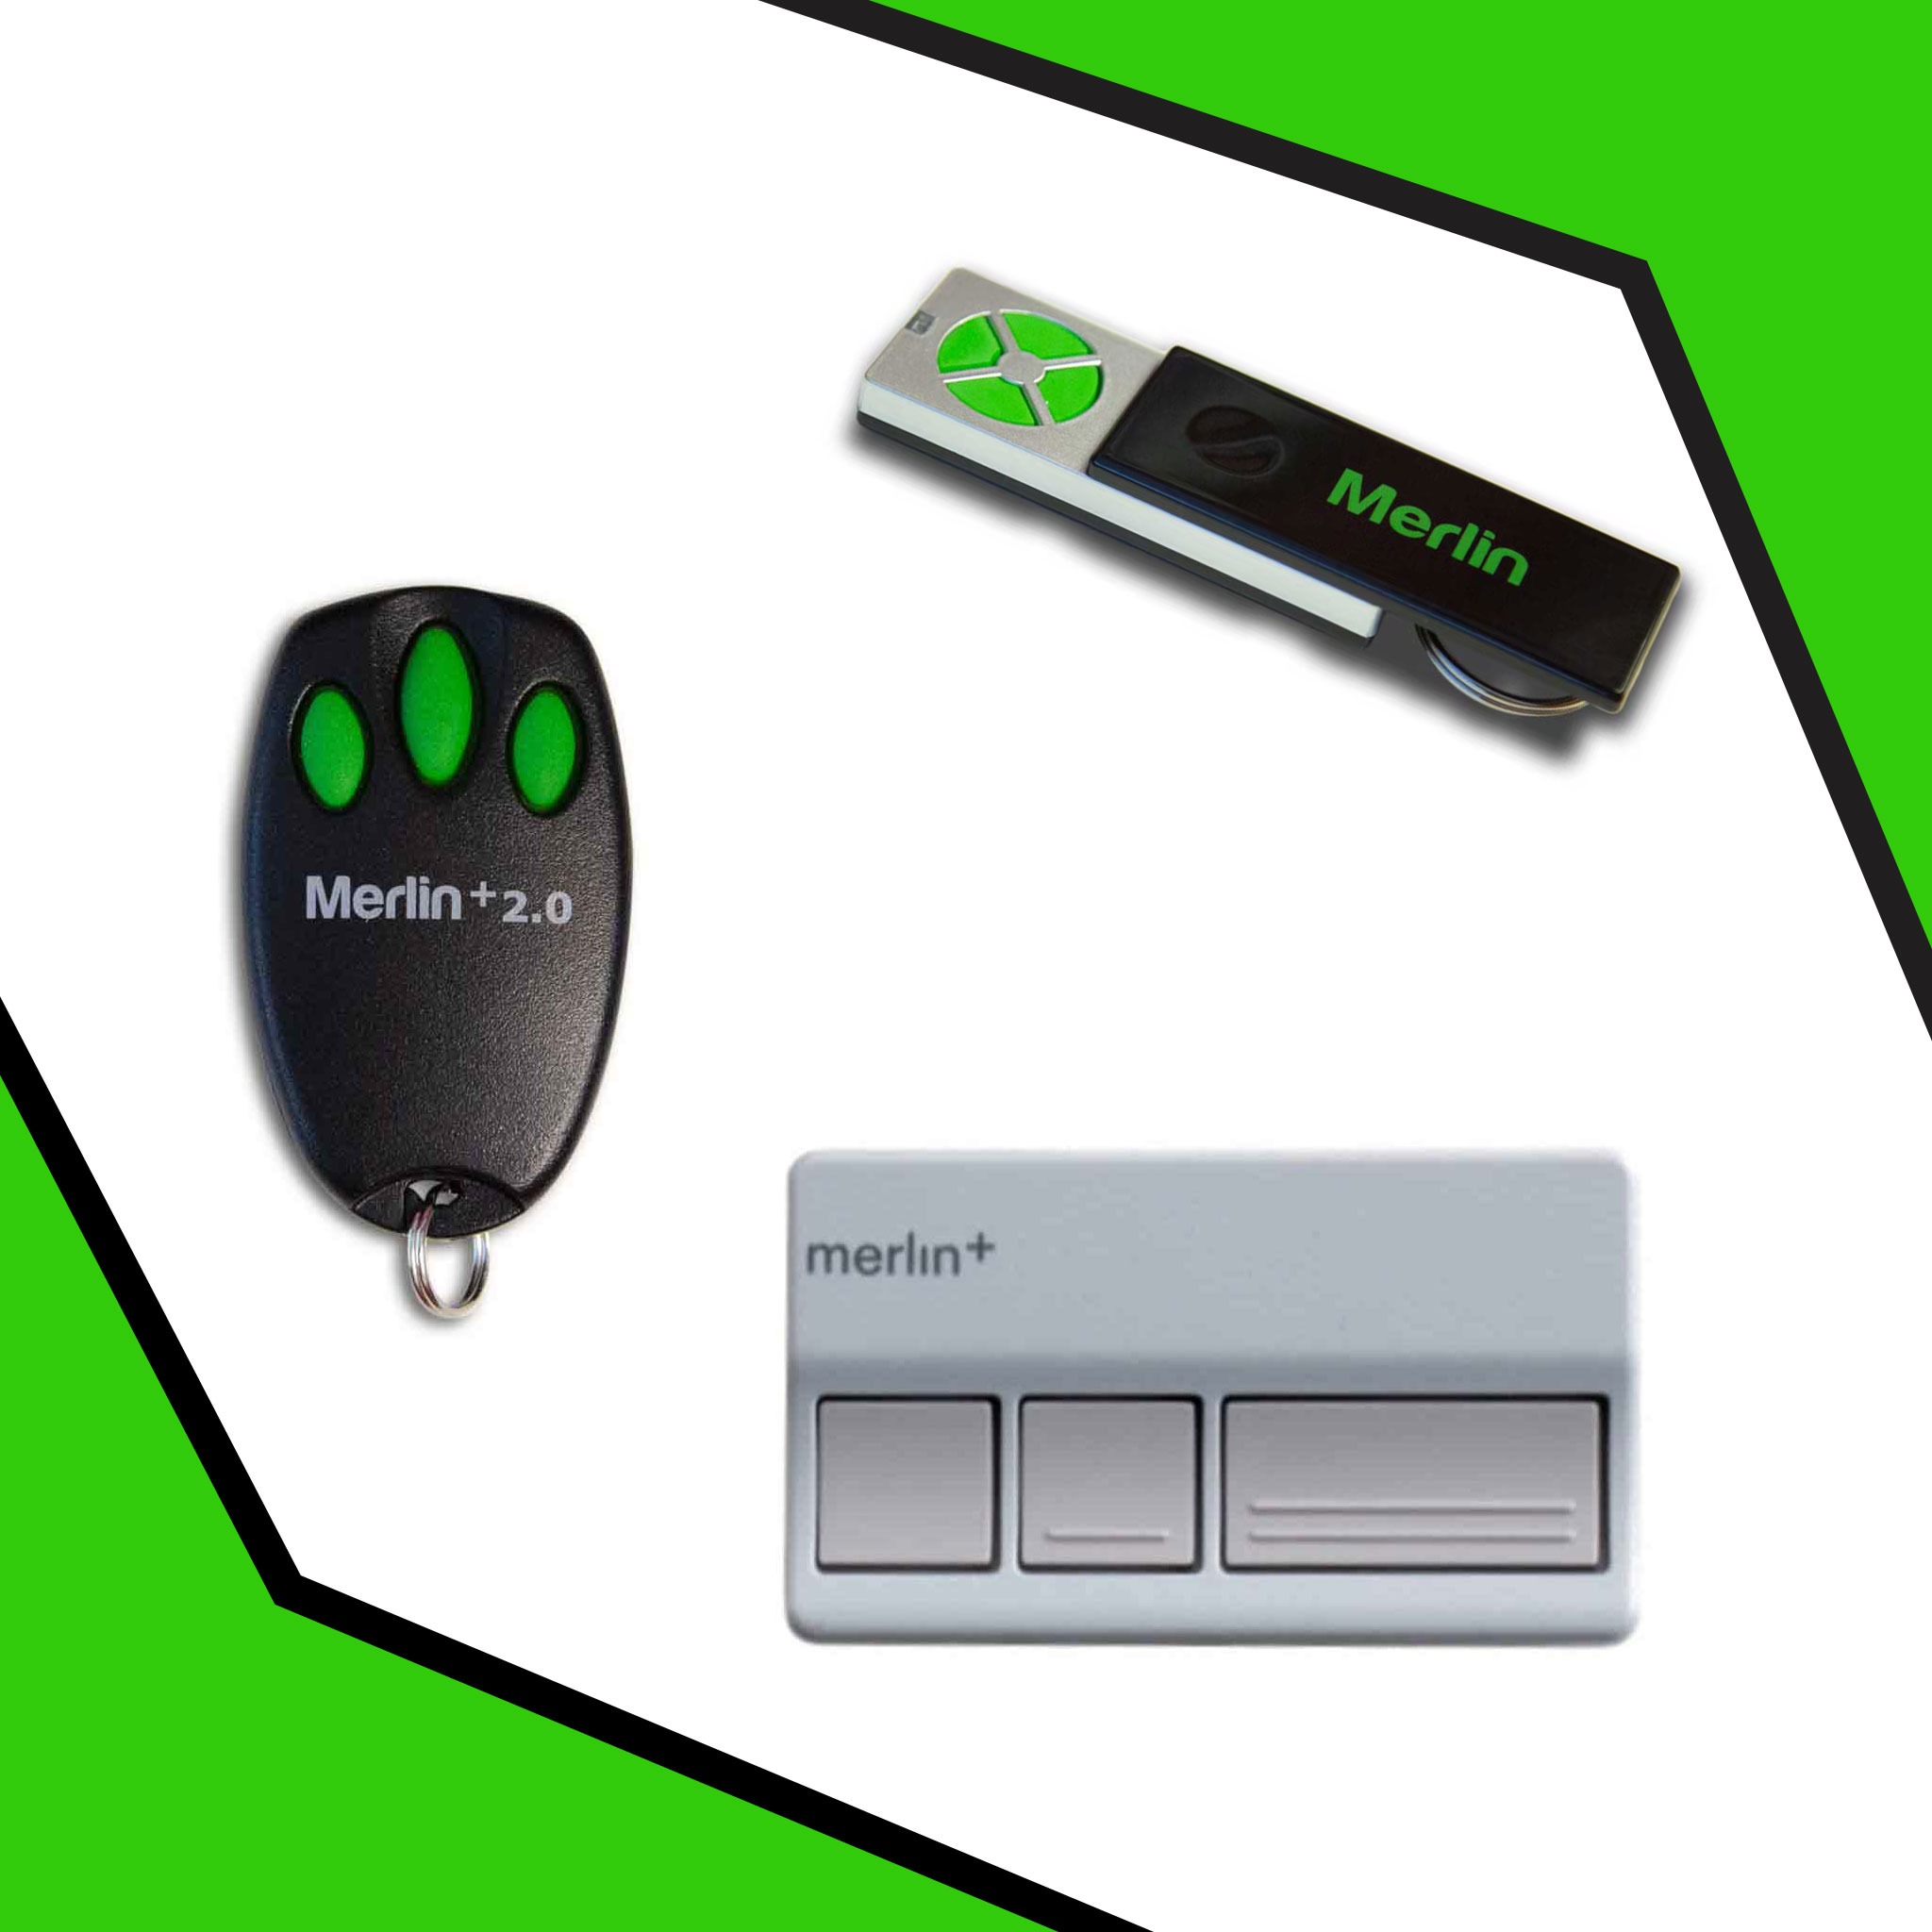
Photo credit © Centurion Garage Doors
Have you got a Merlin garage door remote that needs the batteries changed but don’t know how to do it?
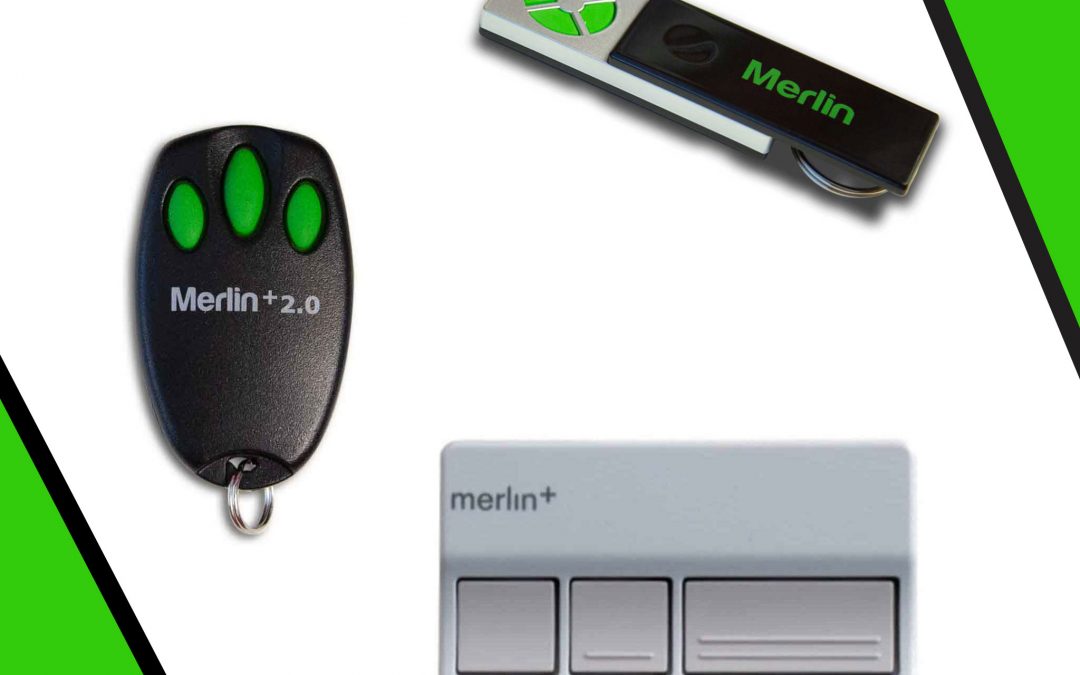
Whether it’s the visor, bear claw, or key ring remote this easy guide will assist you with the instructions and the batteries needed for your remote.
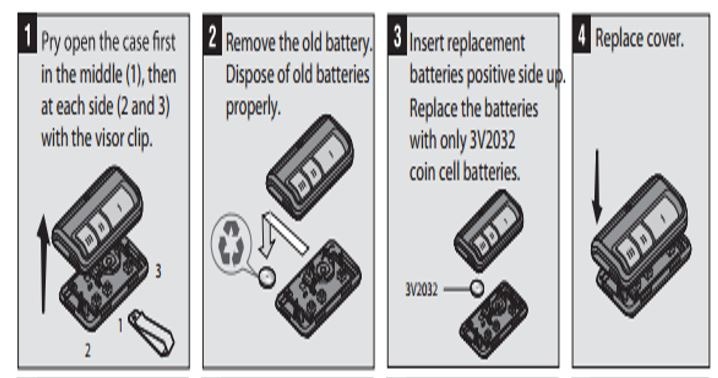
Merlin 3 Button Visor Mounting Remote
Gently open this remote as pictured, remove the old battery, taking note of which side of the battery faces up when you remove it. Insert the new replacement battery, facing the same way up as the old battery was, and put the remote cover back together. Your Merlin garage door remote will now operate.
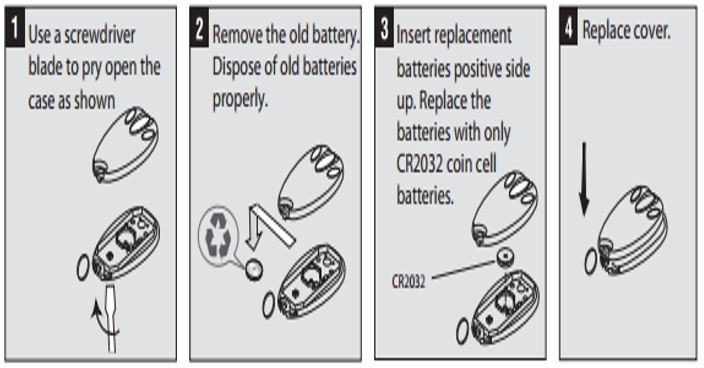
Merlin Bear Claw Remote
Open this remote casing with a small screwdriver as shown in the diagram, remove the old batteries, taking note of which side of the battery faces up when you remove them. Insert the new replacement batteries, facing the same way up as the old batteries were, and put the remote cover back together and the screws back in place. Your Merlin garage door remote will now operate.
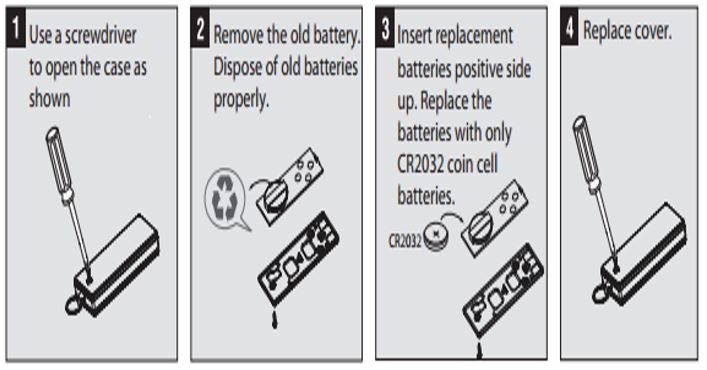
Merlin E950M 4 Button Key Ring Style Remote With Sliding Cover
Use a small screwdriver to open the remote casing as shown in the diagram. Remove the old batteries, taking note of which side of the battery faces up when you remove it. Insert the new batteries, facing the same way up as the old batteries were. Finally screw the remote cover back together. Press the remote button and your Merlin garage door remote will now operate.
Do you own a different garage door remote? Have a look at our How To videos and downloadable instructions for other garage door remotes.
We also have a range of garage door remotes available for purchase via our online shop.


